


Just Quote Me 1
Just Quote Me 2
Just Quote Me 3
Just Quote Me 4
Just Quote Me 5
Just Quote Me 6
Just Quote Me 7
Just Quote Me 8
Just Quote Me 9
Just Quote Me 10
Just Quote Me 11
Just Quote Me 12
Just Quote Me 13
Just Quote Me 14
Just Quote Me 15
Just Quote Me 16
Just Quote Me 17
Just Quote Me 18
Just Quote Me 19
Just Quote Me 20
Just Quote Me 21
Just Quote Me 21

SEW MUCH A DO
A PAIR AND A SPARE
MEEK N MILD
FLICKRBLOG
MI-LK
LITTLE STORIES
AMENAKIN WRITES
GET TOTALLY RAD
I GOT IT COVERED
DIANNA AGRON, BUT YOU CAN CALL HER CHARLIE
GOOGLE.COM
ROIWORLD.COM
INTERNET MOVIE DATA BASE
A PAIR AND A SPARE
MEEK N MILD
FLICKRBLOG
MI-LK
LITTLE STORIES
AMENAKIN WRITES
GET TOTALLY RAD
I GOT IT COVERED
DIANNA AGRON, BUT YOU CAN CALL HER CHARLIE
GOOGLE.COM
ROIWORLD.COM
INTERNET MOVIE DATA BASE


Just Quote Me Monday, February 20, 2012 ( 6:00 pm )
1 comments DIY TUTORIAL: Satin Rose Sunday, February 19, 2012 ( 1:42 am )
 Salaam, mi amigos! How's it goin there? Well here it is, my very first ever do-it-yourself tutorial! I've always loved DIY projects and I've also followed a couple of DIY blogs which I had left their links under the "DAILY VISITS" section on the left. Most of them are clothing DIYs, though. But feel free to check them out! I had actually been making these satin roses for the past few days now. Quite enjoy making it especially when I have nothing else to do. It all started when I ACCIDENTALLY burnt a piece of fabric of mine. And I thought, "nahh it can't end here can it? Let's put it to good use!" Hence, the DIY rose. :) Now the following tutorial is actually a mixture of something that I had learnt off Youtube and from one of the DIY blogs. I decided that this way works for me, and hence, I'm sharing it with you! Apparently there are various ways of making a rose, and also different ways may result in different shapes and sizes. So let us begin. 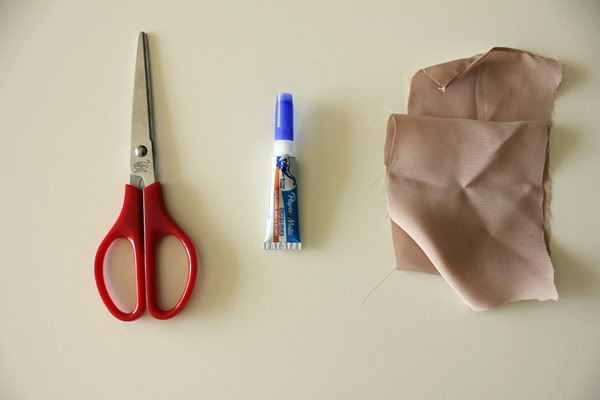 What you'll need: 1.A pair of scissors 2.Super glue/hot glue gun 3.Fabric of choice(Here I had used italian satin silk. Mucho soft) Steps: 1. So first of all, you need to cut out a piece a fabric, and make it about 24 inches long, and 1 to 2 inches wide. 2. Next, fold it in half, and just apply abit of glue at the end to allow the both sides to stick together. 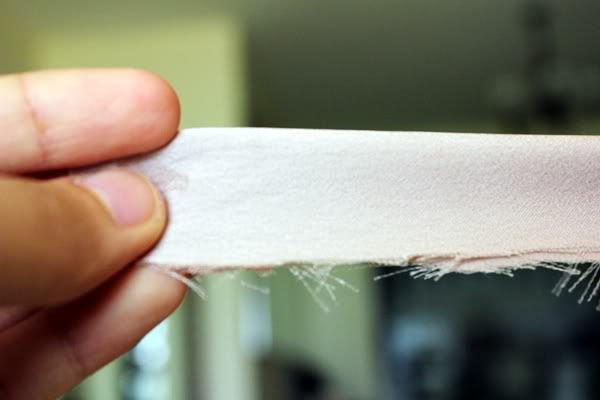 3.From the glued end, leave about a 2-inch tail and twist it with your right hand twice and hold it with your thumb. 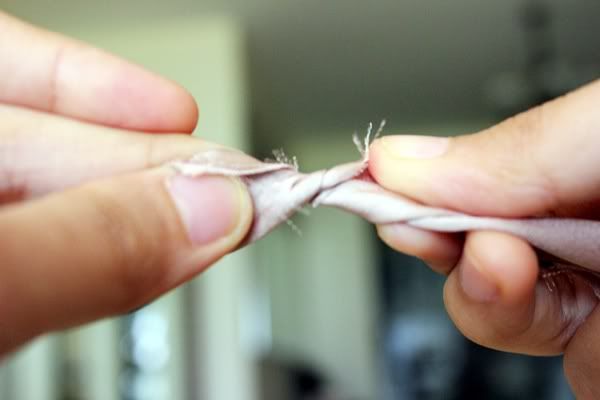 4. Now take your left hand and fold the left part inwards a few times to make the center of the rose. 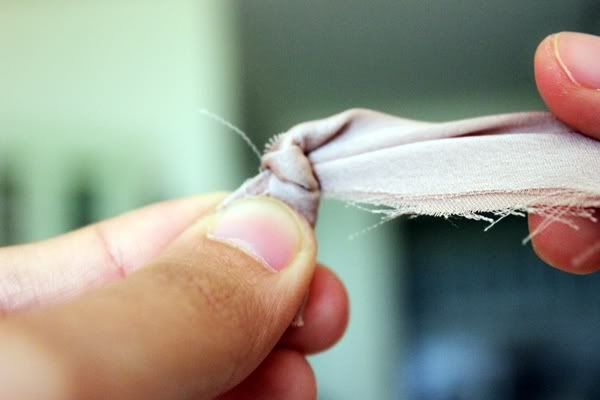 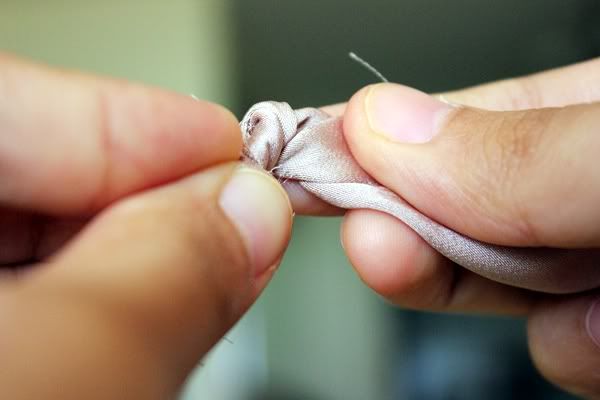 5. Dot a tiny amount of glue onto the inner part of the rose's center so that the right part of the fabric is secured to the center. This is to ensure that when you do more twisting and folding later, it won't move about, especially when you're using a satin type of fabric. 6. Using your right hand, twist the right part of the fabric to the back, once. Move it along the center abit and twist again. Have your left hand hold on to the tail to make things easier. 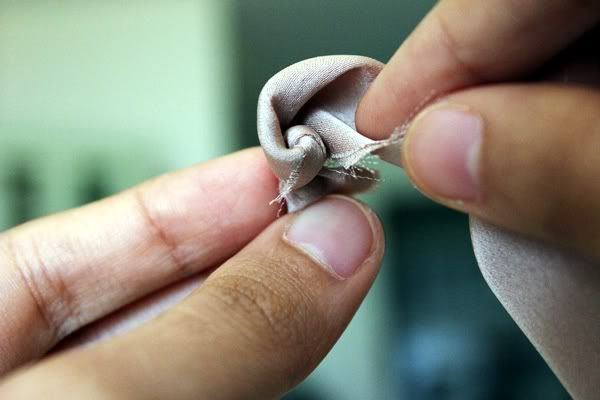 Dot some glue everytime after twisting twice as you go around and around the center. 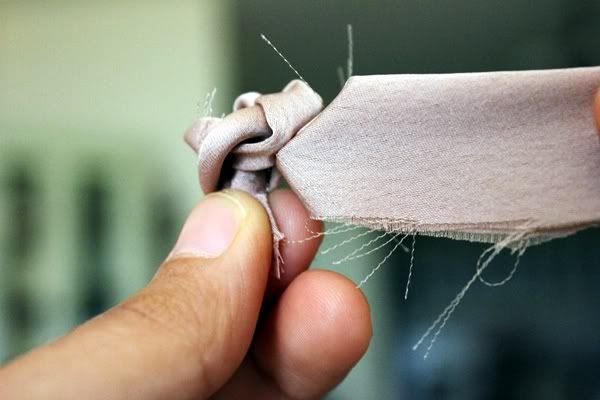 7.Keep repeating steps 6 until you get something like this: 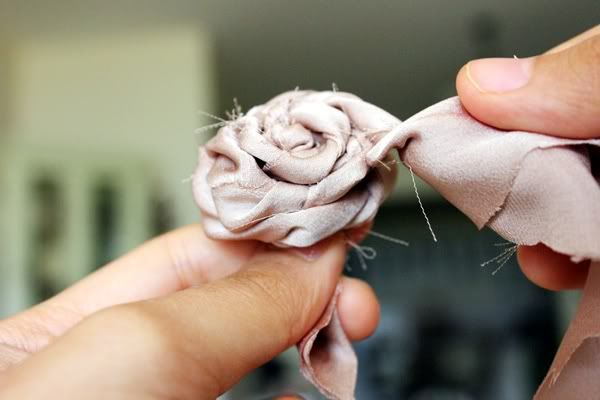 8.When there is about a half or an inch left, twist it to the back and glue it to the bottom of the rose. Take the tail of the rose and fold it like a square and glue that to the bottom of the rose too. 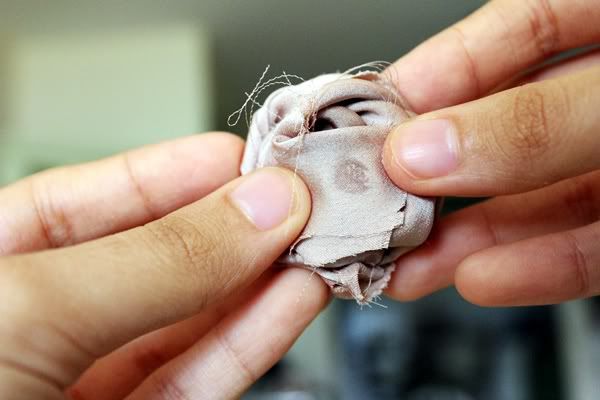 And the results: 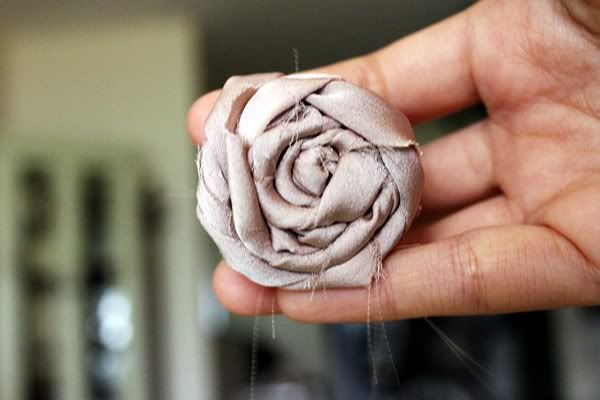 Voila! There's your own satin rose. It was abit confusing for me at first. I mean, the person in the video made it look so easy. But with confidence and determination, and also abit more practice, you'll be able to make it look more and more beautiful each time you make it. Tips & tricks: 1. Use a satin ribbon instead of a cut out fabric, to get nicer edges. 2. Use a different kind of satin, which is abit rougher than italian perhaps because italian satin silk is very soft. Although it does have a very nice semi-shine effect. 3. When twisting around the center, imagine a spiral, which is expanding at its diameter. 4. Use proper fabric scissors when cutting the fabric so that the edges are cleaner(as compared to mine). 5. Keep your left hand holding the tail as you move around the center to make it easier to handle. So what can you do with it? Well you could make a brooch out of it. You could do some home deco out of it. Or you could just do it for fun and exercise those fine muscles! Hope you like it! And if it seems complicated, don't fret to ask any questions. I'll help out as much as I can. Til then, make that satin rose! :)  
© 2006-2011 The Real Life. All rights reserved. *Best viewed in Chrome (1280 x 800 pixels) |